Early on, when we first went under quarantine, my daughter asked if I would help her make a stuffie or doll of some kind. I agreed and we started a search through Pinterest for just the right thing. Almost immediately we decided a mermaid doll was it! She was leaning toward this style……
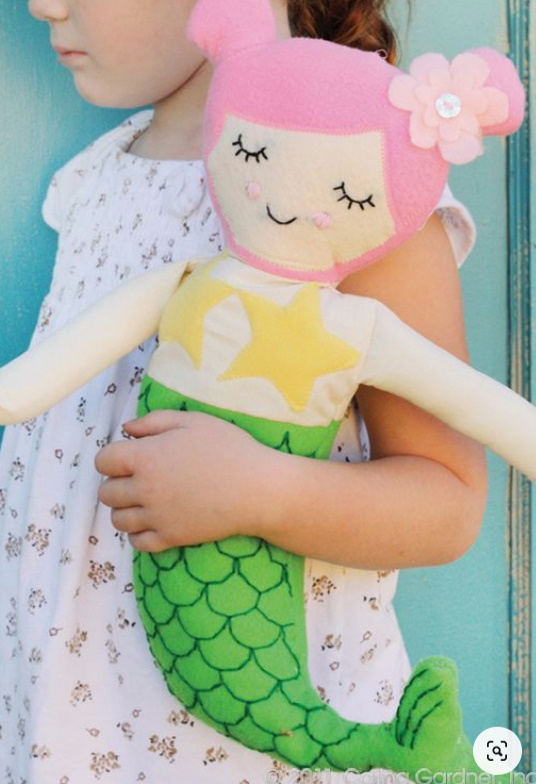
….large, puffy and huggable. However, she did want it to have yarn hair so she could style it. While I kept coming back to these beauties!
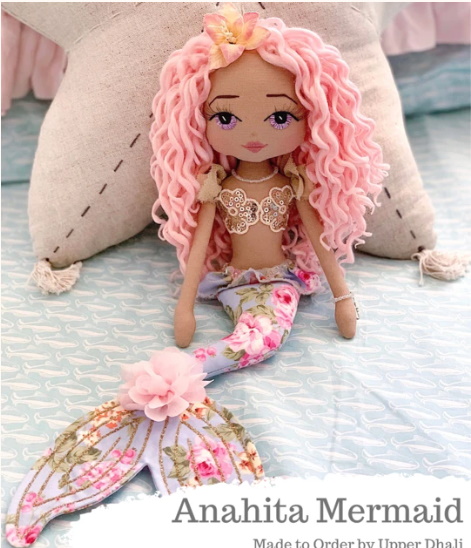
Of course, the ones I liked are professionally made and appear to be worth every penny! My gosh, the incredible detail just blows me away.
So, I knew we would not be creating anything as intricate as the one I fell in love with and she had her heart set on something bigger that wasn’t going to be so delicate that she could not play with it. We decided to sit down and combine ideas to come up with a plan. Basically, I asked her to draw what she wanted and I fleshed out the details.
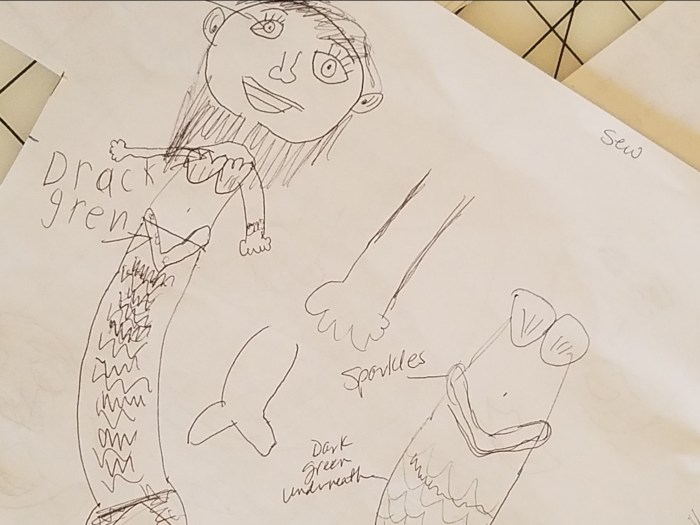
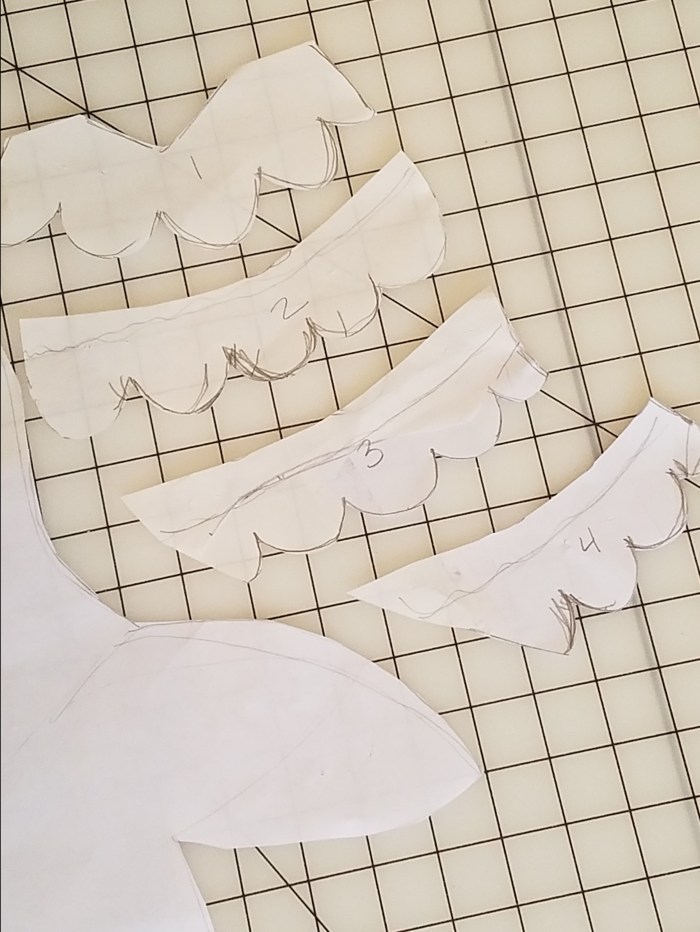
I used her drawing and she held up her hands to show the size and I came up with this pattern.

Next, we dug through the scrap bins and found some peachy rayon blend fabric from a dress I altered and leftovers from a mermaid costume I had created many moons ago.
We carefully planned our layout since we were using scraps and once they were cut that was it!

I had intended for the head to be attached to the torso, but we had to separate it when we realized that was the only way to lay it out on our scraps and get all the pieces we needed. We also had to compromise on the fleshy areas and use the lining of the dress leftovers for the backside. There simply wasn’t enough of the dress scrap to use on both sides.
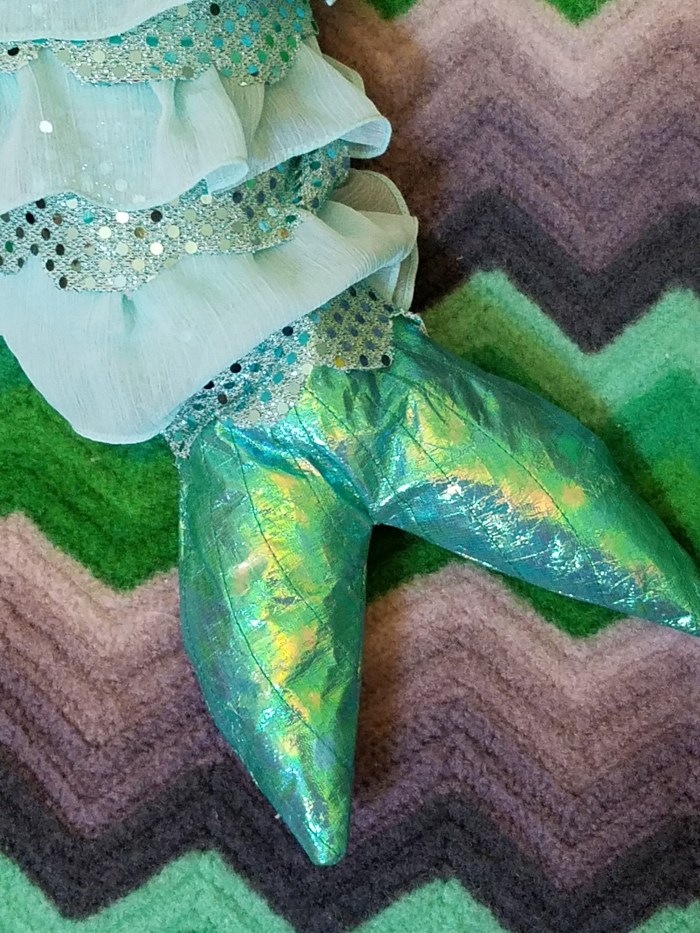
My daughter had found some wispy teal fabric in the scrap bin and really wanted to put it on the tail in between the rows of scales as a ruffled version.
While I thought it was a bit much I had to concede because this really was her creation.
We made a list of the steps and sewed everything on the machine. She sat in my lap with me guiding her hands until she figured it out.
Once we had the pieces stitched together and all the pieces stuffed it was time for the face. This is what I was presented with….
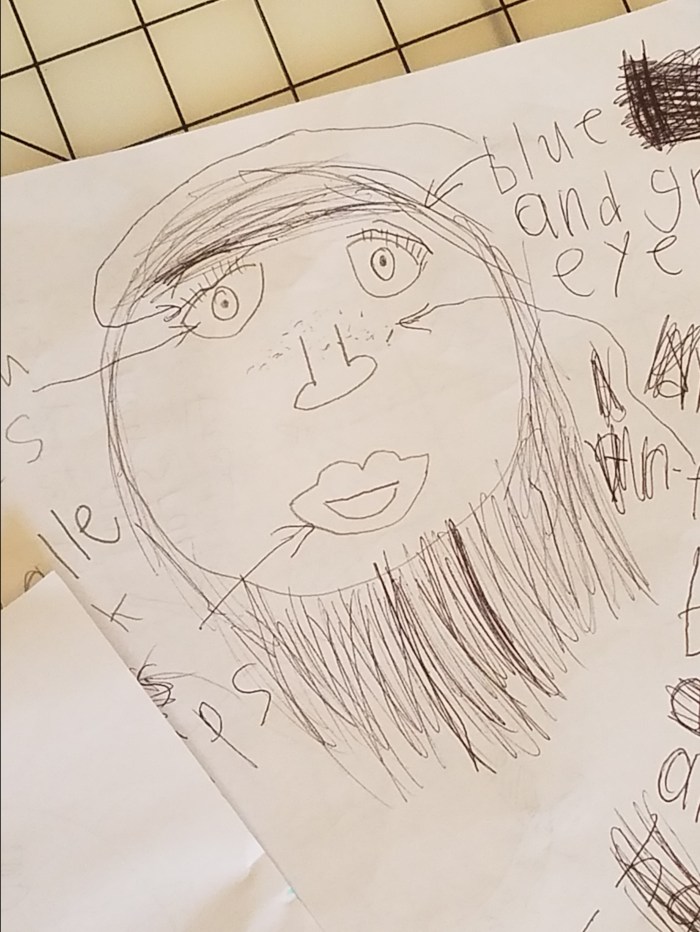
I’m not very good with embroidery stitching, but with a simplified version of the above drawing I was able to pull the look together pretty well and she was happy with the results. Thank God for disappearing ink!

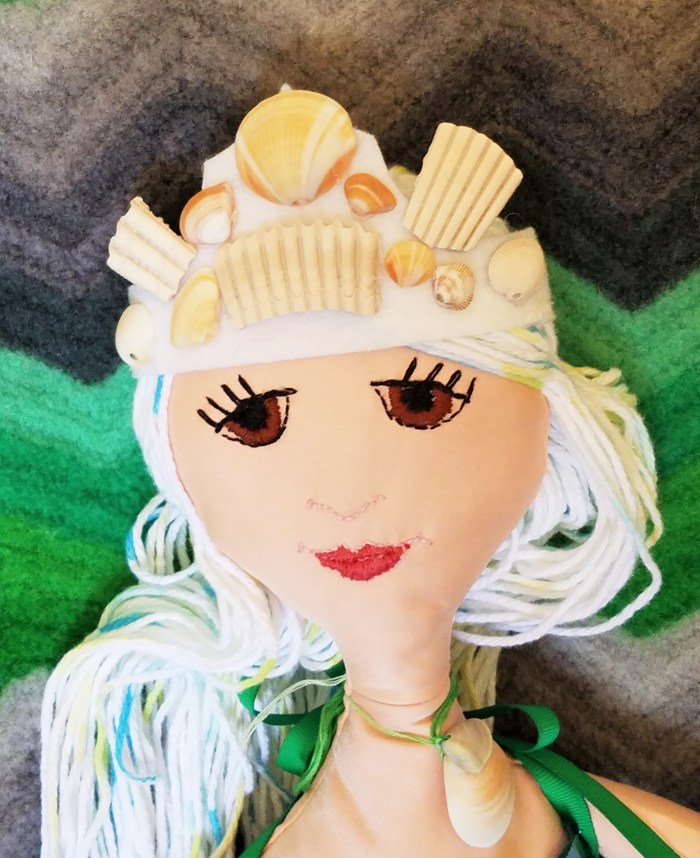
After the face came the hair. The only thing we had that would work was a white yarn with green and blue bits running through it. And, we only had a small amount left. I had to rework the hairline and length several times in order to fully cover the area and make it look the way the designer had envisioned.

It needed to be side swept and extra long…because that’s how mermaids wear their hair! Didn’t you know?

In the end, I think our creation came out pretty nice, especially considering we only used things we had on hand. The little one then decided her mermaid needed a necklace, so she fashioned one from a couple of shells we had found in Hilton Head years ago. Next, she put together a crown with shells from various trips to other beaches.


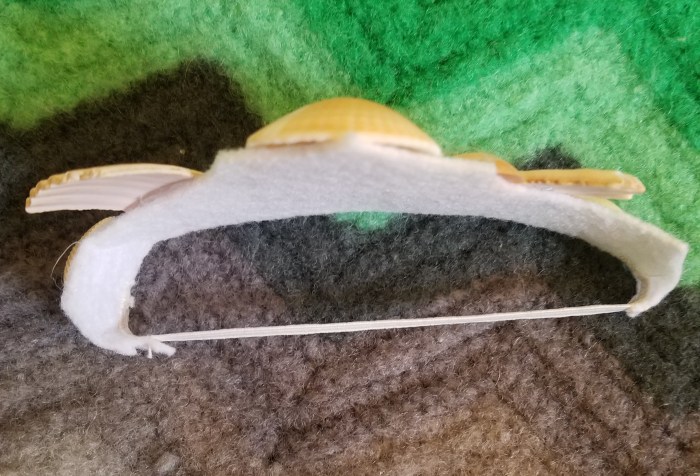
I really like how the crown turned out.
This sea queen now reigns from the top of the stuffie pile on my daughter’s bed and is greatly loved every day. About a week after we finished the mermaid doll my daughter begged to get her tiny sewing machine from grandma out. This experience had given her the confidence to no longer be scared of the racket it makes and to start creating her own things. Her poor American Girl dolls didn’t know what hit them!
Have you designed anything from scratch lately? I would love to see it!
Thanks for stopping by!
Erika


I just ADORE your mermaid doll! I just love the colours!